Hey there, creative genius! 🎨 Before you dive headfirst into your next painting project, let’s talk about a crucial skill that can elevate your work from “meh” to magnificent: loading a paint brush! It may sound simple, but the right technique can make all the difference. So, grab your brush, and let’s get started! Find out how to choose the right paint brush here.
Step 1: Prepare Your Brush
First things first! Soak your brush in an inch of water for 15 minutes prior to painting. This will help the paint apply more smoothly and evenly. Give it a little shake to remove any excess water.
Step 2: Pour the Paint
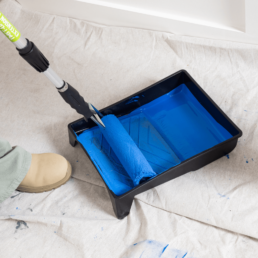
Pour the paint into a paint pot or bucket. Try not to overfill the bucket too much, a third of the way should be sufficient. You can always refill if you’re running low.
Step 3: Loading the Brush
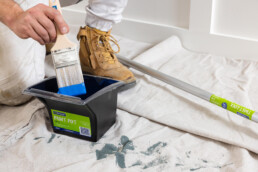
Take your brush and dip it into the paint. Aim to immerse just the bristles about one-third of the way. You want enough paint to do the job but not so much that it drips!
Lightly tap the brush against the edge of the tray to remove any excess paint.
Pro Tip: Less is More!
Remember, it’s always better to start with a little paint. You can always dip again if you need more. This approach helps you maintain control and precision while painting.

Step 4: Time to Paint!
With your brush loaded and ready to go, it’s time to start!
Step 5: Clean Up Like a Boss
Once you’ve finished your masterpiece, it’s cleanup time! Rinse your brush in warm water and gently comb the bristles to remove any paint. Treat your tools with care, and they’ll be ready for your next creative venture!
And there you have it, painting superstar! 🌟 You’ve mastered the art of loading a paint brush, setting yourself up for painting success.
Happy painting! ✨
