Hey there, DIY dynamo! 🎨 Ready to take your painting skills to the next level? Today, we’re diving into a crucial element of painting: cutting in! If you’ve ever wondered what this mysterious technique is and why it’s essential for achieving that flawless finish, you’re in the right place. So, grab your brush, and let’s cut to the chase!
What Is Cutting In?
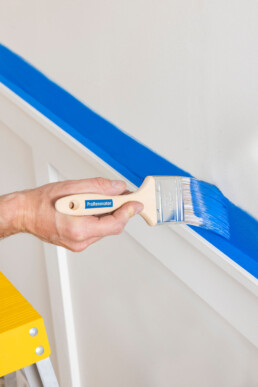
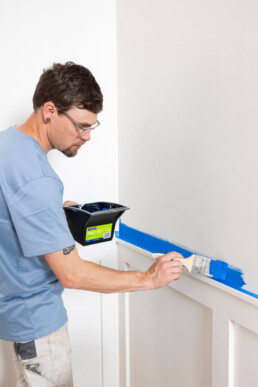
Cutting in is a paint brush technique used to create clean, sharp lines along edges and corners, where walls meet ceilings, skirting boards or window frames. Cutting in creates a “frame” for your roller, allowing you to fill in the larger areas with ease.
Why Bother With Cutting In?
You might be asking, “Why can’t I just slap on the paint without cutting in?” Great question! Here’s why cutting in is a must-do:
1. Sharp, Clean Lines: Cutting in allows you to achieve those beautiful, crisp edges that elevates your painting from amateur to artist!
2. Prevents Mess: When you cut in, you can avoid getting paint on your trim or ceiling. This means less frustration and time wasted trying to fix mistakes. Who doesn’t want that?
3. Better Control: Using a brush gives you more control in tricky areas than a roller would.
How To Cut In Like a Pro
Ready to master the art of cutting in? Here’s a step-by-step guide to help you nail it every time:

Step 1: Gather Your Supplies
Before you start, make sure you have:
- ProRenovator Sash Brush: This is your best friend for cutting in! For beginners, an angled brush allows for better control and precision.
- Your Chosen Paint: Get that colour ready!
- Painter’s Tape (optional): If you’re a bit nervous, tape can help guide your lines and give you extra piece of mind that your trims won’t get paint on them.
Step 2: Load Your Brush
Dip your brush into the paint, making sure to only cover the bristles about a third of the way. Tap off any excess paint to avoid drips. You want just the right amount for precision! Find out how to load a paint brush here.

Step 3: Start Cutting In
1. Paint a 40-50cm line on the wall away from the edge. This will help unload some paint.
2. Angle your brush on a 45-degree angle with the tip pointed towards the edge and carefully cut in right to the edges. There is no need to put extreme pressure down on the brush when cutting in.
3. Using the flat side of the brush, evenly spread the remaining paint.
Step 4: Roll Away!
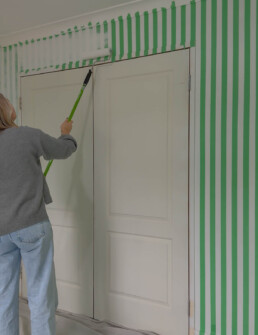
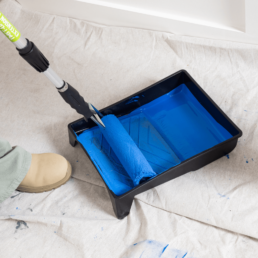
After you’ve cut in all your edges, it’s time to grab your roller and fill in the rest of the wall. You’ll be amazed at how the finished product looks with those sharp lines framing the roller work!
And there you have it! Cutting in may seem like a small step, but it’s one that can make a massive difference in your painting project. With practice, you’ll be able to create those clean, professional lines with ease.


