Hey there, DIY dynamo! Loading a paint roller might seem like a small step, but it’s a crucial one in your quest for a flawless finish. So, roll up your sleeves and let’s get that paint roller loaded.
Step 1: Prepping the Roller
Whether you’re using a full-size roller or a mini, the same steps should be followed to load them properly.
First things first! Before you load that roller, give it a little prep by rinsing it under water to eliminate any loose fuzzies.
Shake out the excess water.
Step 2: Prepare the Paint
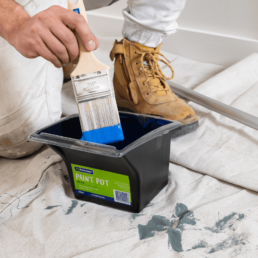
Pour a generous amount of paint into your paint tray.
Step 3: Loading the Roller
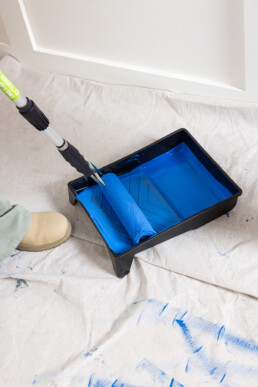
Here comes the fun part! Dip the roller into the paint tray.
But hold up! You don’t want to submerge it completely. Just touch the tip of the roller into the paint.
Once you have a little bit of paint on the roller, use the paint tray grill to roll the roller back and forth. This allows the roller to soak up the paint and distribute it evenly. This is where the magic happens—watch your roller transform into a colourful sponge! The entire roller should now be covered in paint.
Pro Tip: Don’t Overload!
Less is more when it comes to paint rollers! Overloading can lead to a mess and uneven application. If you notice the roller dripping, simply roll it back on the tray until it’s just right.

Step 4: Time to Paint!
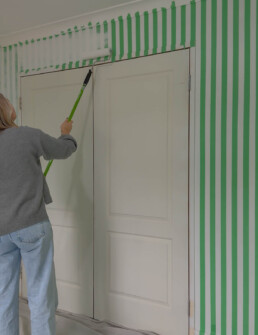
Now that your roller is loaded, it’s showtime! Find out how to paint a feature wall here.
Step 5: Clean Up
When the painting is done, make sure to clean your roller properly by rinsing it in warm, soapy water. By keeping your roller in tip-top shape, you’ll be able to reuse it for your next project.
And there you have it, superstar! Loading a paint roller is as easy as it gets!
Happy painting! 🎨✨


