There’s something magical about the world of kids and paint. Whether it’s adding a playful splash of colour to their cubby house or creating a whimsical nursery wall, painting is a fantastic way to nurture creativity and bond with your little ones. Plus, the memories you create during these projects will last long after the paint dries!
Painting a Cubby House
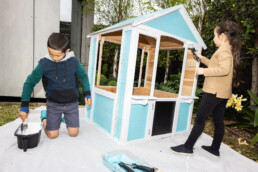
A cubby house is a child’s sanctuary—a place for play, imagination, and adventure. And what better way to bring that space to life than with a coat of paint? Whether it’s in the backyard or a cozy corner of their room, painting a cubby house is a fun project that can transform a simple wooden structure into a magical hideaway.
Step 1: Choose the Right Paint
For outdoor cubby houses, you’ll want weatherproof paint that can stand up to the elements. Look for paints designed for exterior use that are durable and long-lasting.
Step 2: Prep the Cubby
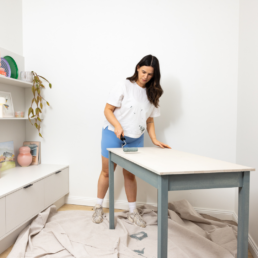
Before you and your little ones start painting, prep the cubby house:
- Clean the surface: Dust and dirt can affect how well the paint adheres. Wipe down the surfaces with a damp cloth and let it dry completely.
- Sand any rough edges: If your cubby house has rough wooden spots, lightly sand them to avoid splinters.
- Undercoat if needed: If you’re painting a raw wooden cubby house, apply a coat of undercoat to ensure the paint goes on smoothly.
Step 3: Let the Kids Get Creative!
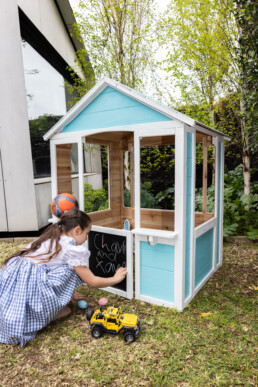
This is where the fun begins! Let your kids choose their favourite colours and get creative. Here are a few fun ideas to inspire them:
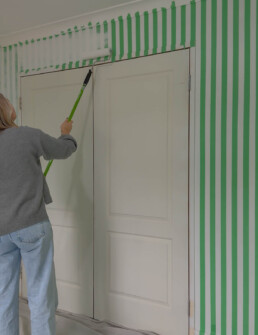
- Bold colours: Bright primary colours like red, blue, and yellow create a lively, cheerful environment. You can paint the cubby house in solid colours or go for stripes for a modern touch.
- Personalised details: Let your child’s name shine! Paint their name on the door or create a sign above the entrance.
Stencilling a Nursery Wall
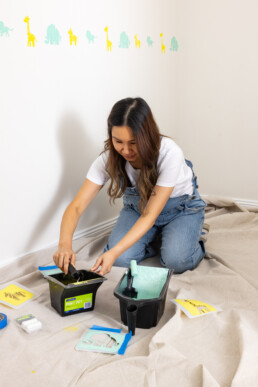
There’s nothing like painting a nursery wall to create a warm, welcoming atmosphere for your little one. Whether you’re going for soft pastels or bold patterns, stencils allow you to make a statement while keeping things playful and fun.
Step 1: Pick the Right Colours
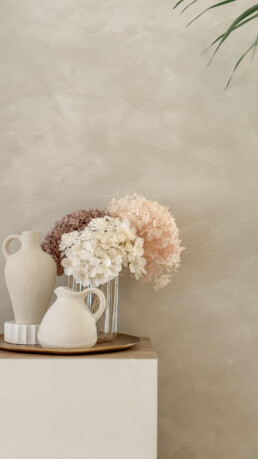
Choose a colour palette that complements the overall vibe of the nursery. Soft tones like yellow or mint green are perfect for creating a peaceful, calming environment.
Step 2: Stencilling the Wall
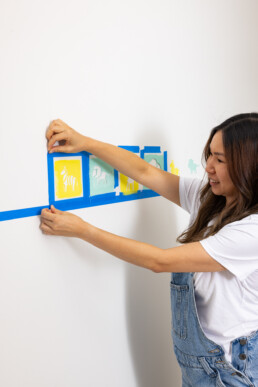
Stencils are a game-changer when it comes to wall art—easy to use, versatile, and fun for kids! You can choose from a wide range of stencils, from simple shapes like hearts and stars to more intricate designs like animals or nature scenes.
To stencil:
1. Tape the stencil to the wall using painter’s tape to keep it in place.
2. Roll: Use a mini roller to gently roll the paint onto the stencil.
3. Repeat: Untape the stencil and keep moving it along the wall to get your desired effect.
Step 4: Add Finishing Touches
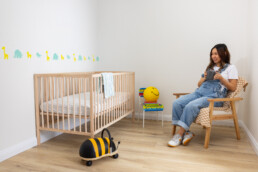
Once the stencils are done, let the paint dry completely before adding any extra decorative touches. You can finish off the nursery with fun accents like:
- An occasional chair in soft textures complement the painted wall.
- Wall decals or framed artwork to enhance the stencilled design and add more visual interest.
Painting for kids is more than just about adding colour to their space—it’s about creating lasting memories and fostering creativity. Whether you’re painting a cubby house or stencilling a nursery wall, these fun projects are a great way to make your home feel more personal, playful, and full of life.
